Experimental Studies to Verify the Effect of Chip Shrinkage Coefficient on Cutting Forces and Surface Roughness in High Speed Milling of A6061 Aluminum Alloy
This paper studied the relationship between the cutting force, surface roughness and chip shrinkage
coefficient through the affect of cutting parameters, i.e., cutting speed, feed rate and uncut chip thickness.
Experimental results of the chip shrinkage coefficient, cutting force and surface roughness at various cutting
parameter values for high-speed milling of A6061 aluminum alloy were presented in this study. The results
show that the cutting force and surface roughness can be derived based on the relationships with chip
shrinkage coefficient.
Trang 1
Trang 2
Trang 3
Trang 4
Trang 5
Bạn đang xem tài liệu "Experimental Studies to Verify the Effect of Chip Shrinkage Coefficient on Cutting Forces and Surface Roughness in High Speed Milling of A6061 Aluminum Alloy", để tải tài liệu gốc về máy hãy click vào nút Download ở trên
Tóm tắt nội dung tài liệu: Experimental Studies to Verify the Effect of Chip Shrinkage Coefficient on Cutting Forces and Surface Roughness in High Speed Milling of A6061 Aluminum Alloy
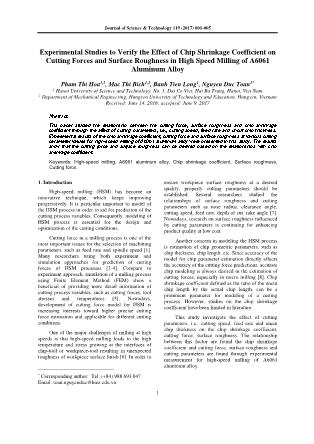
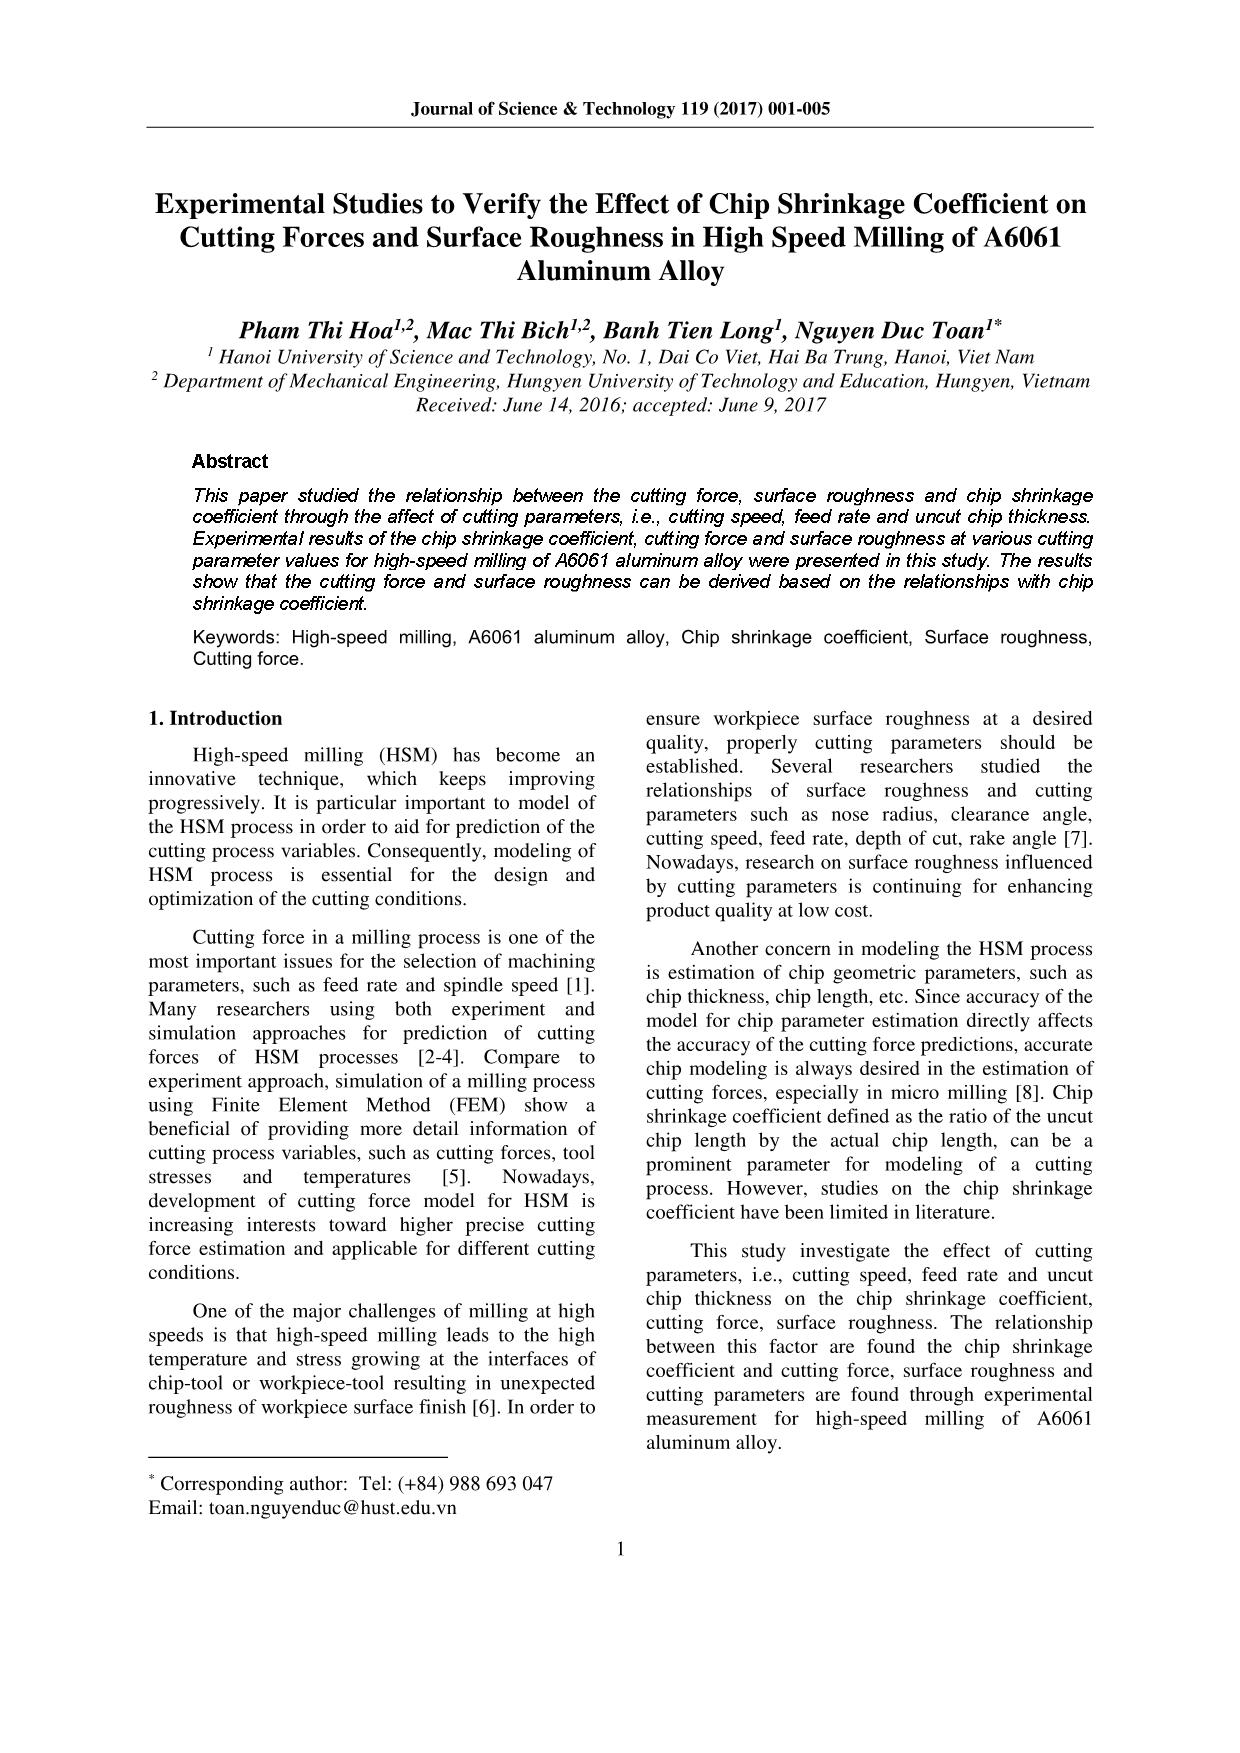
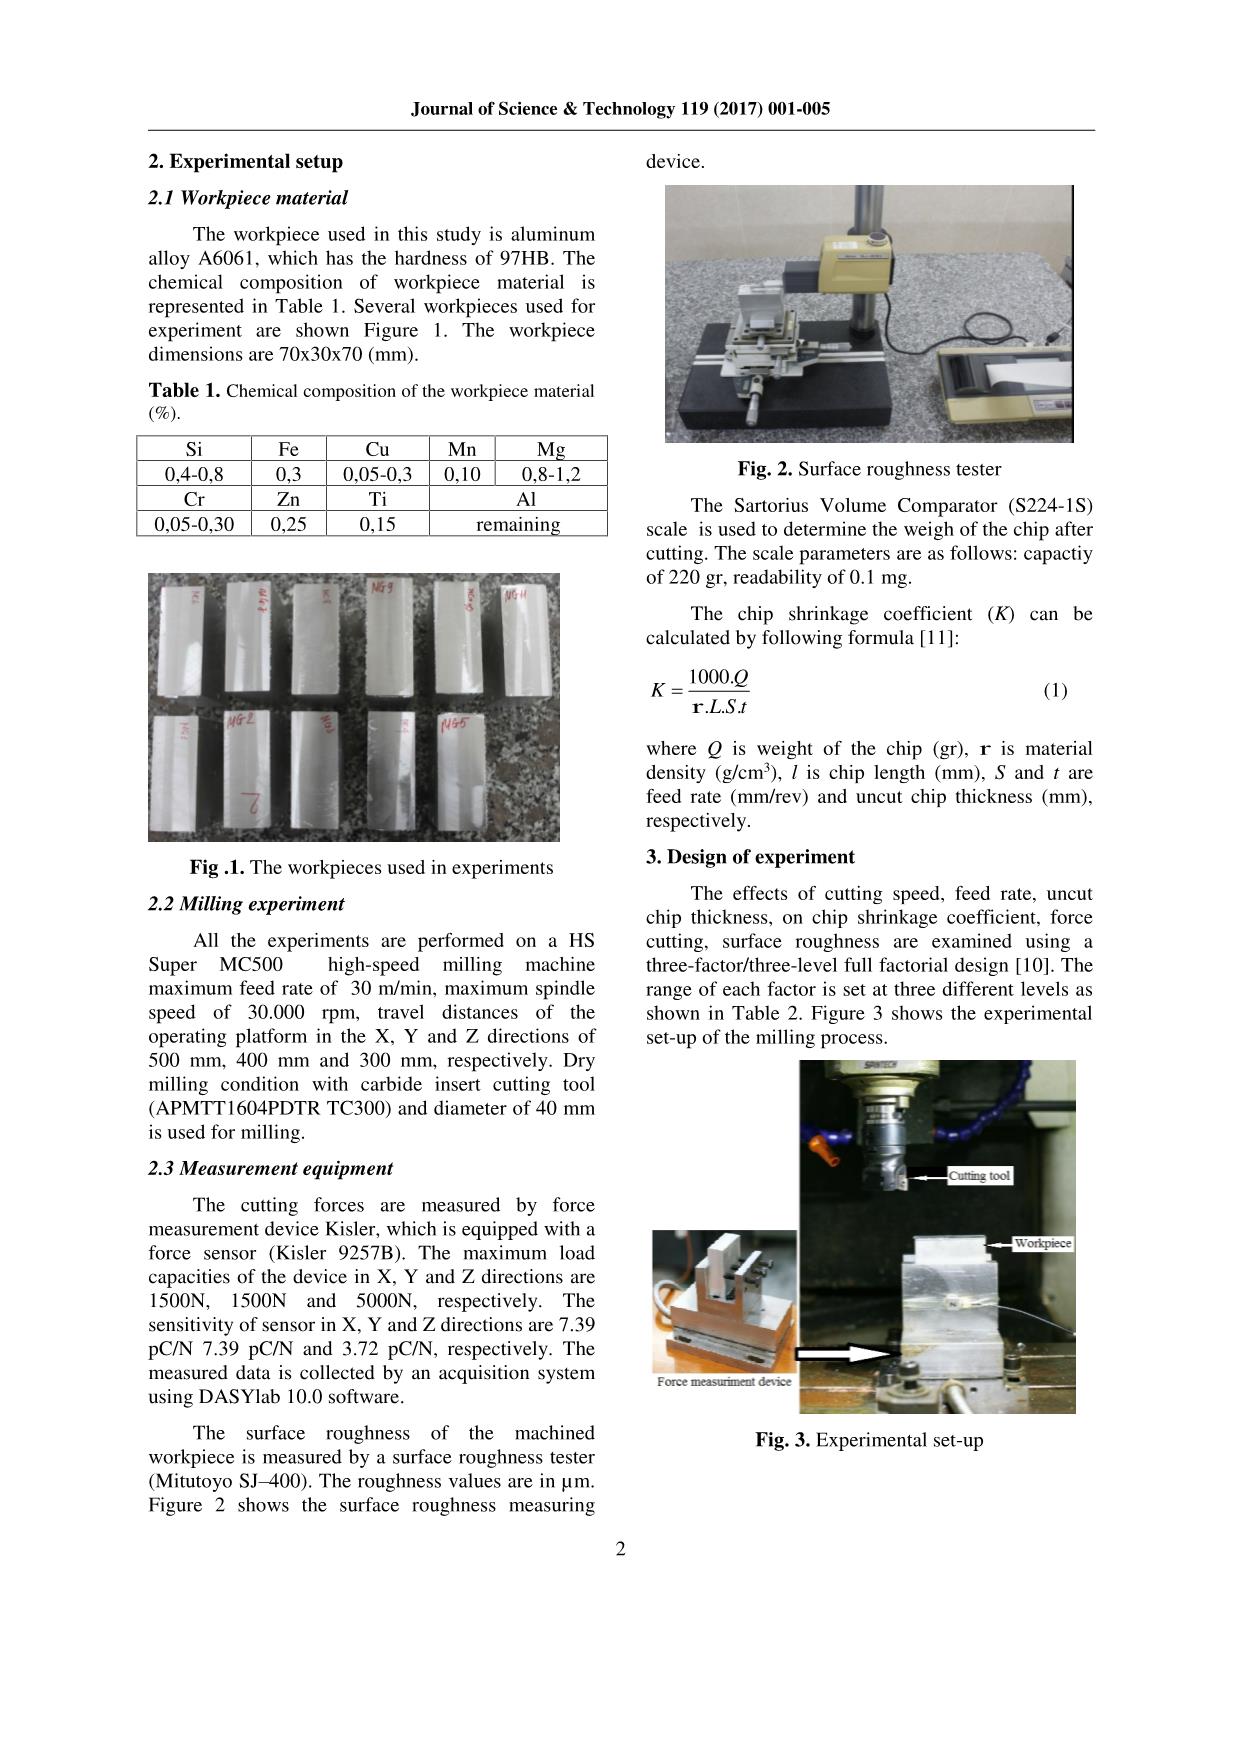
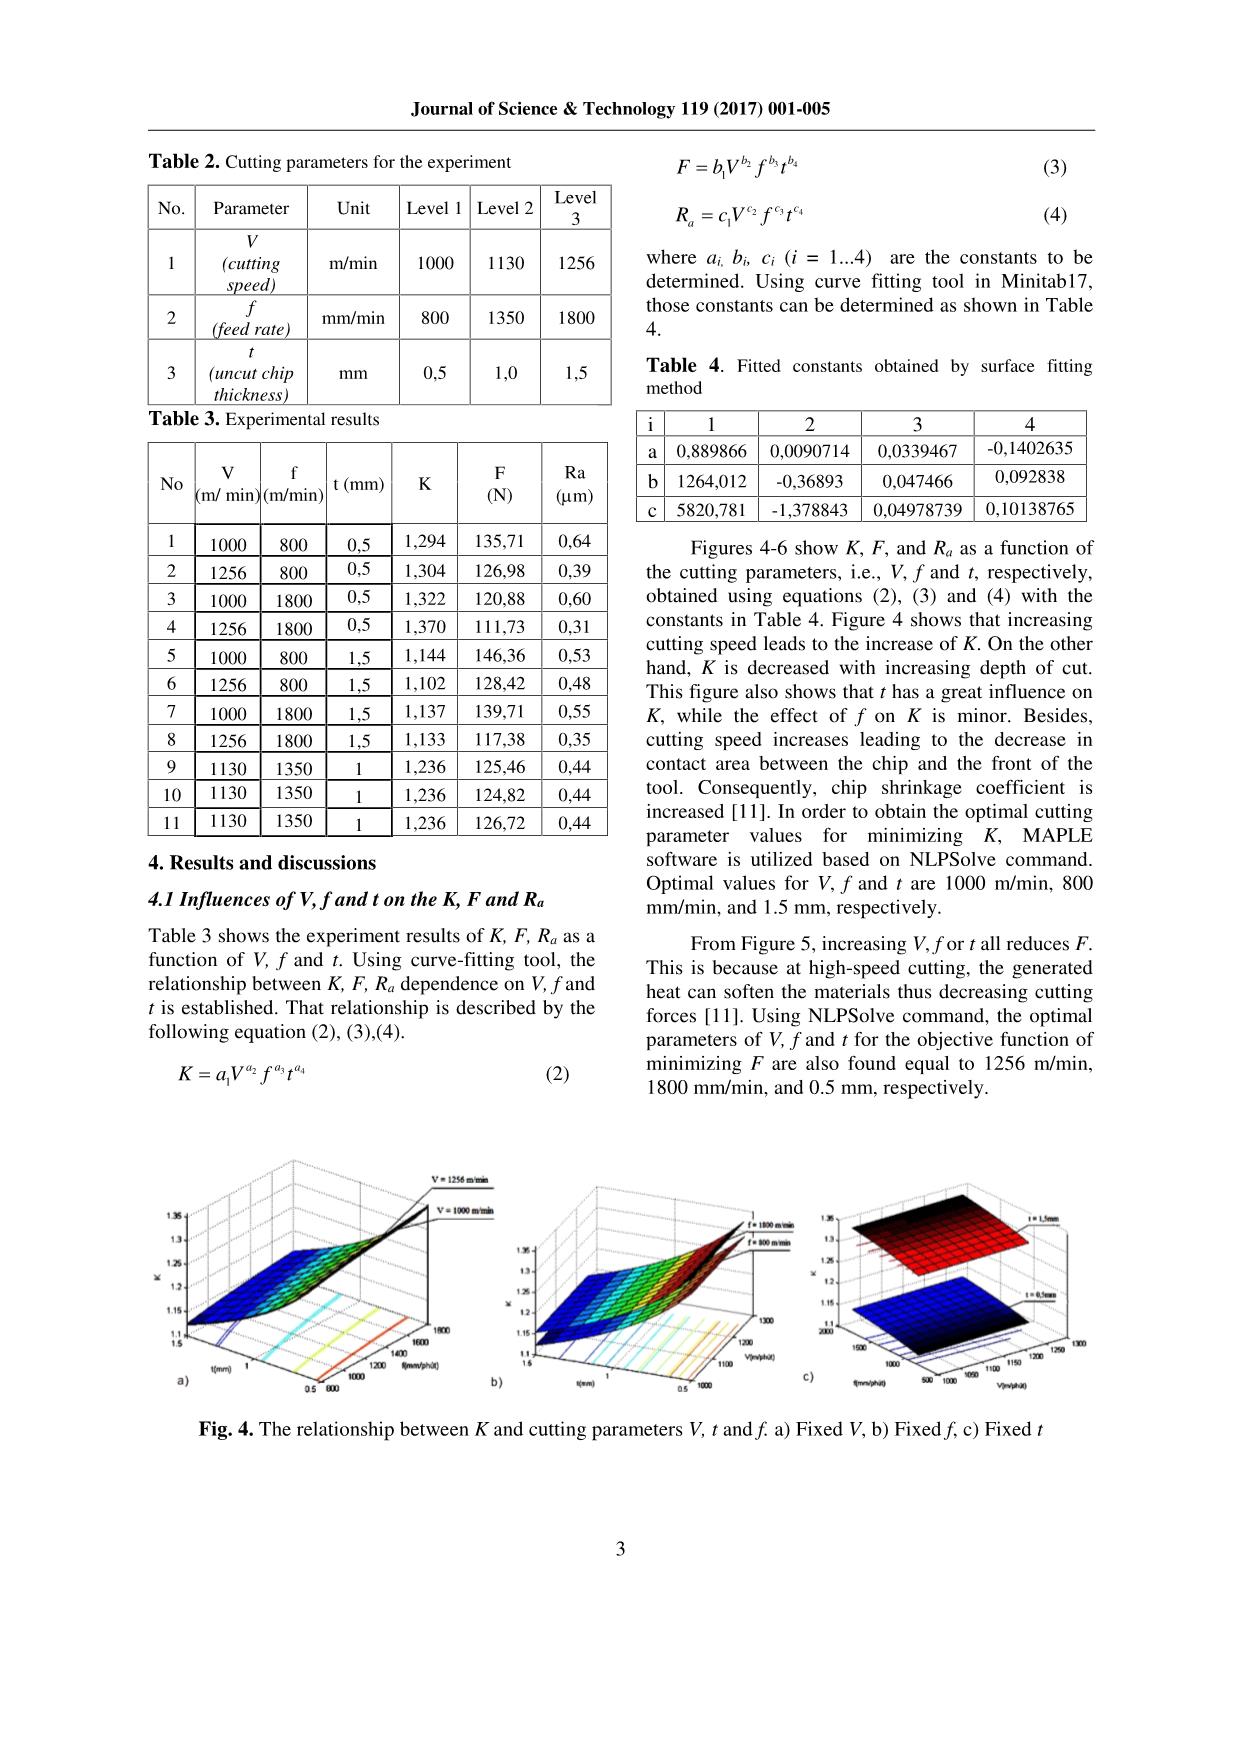
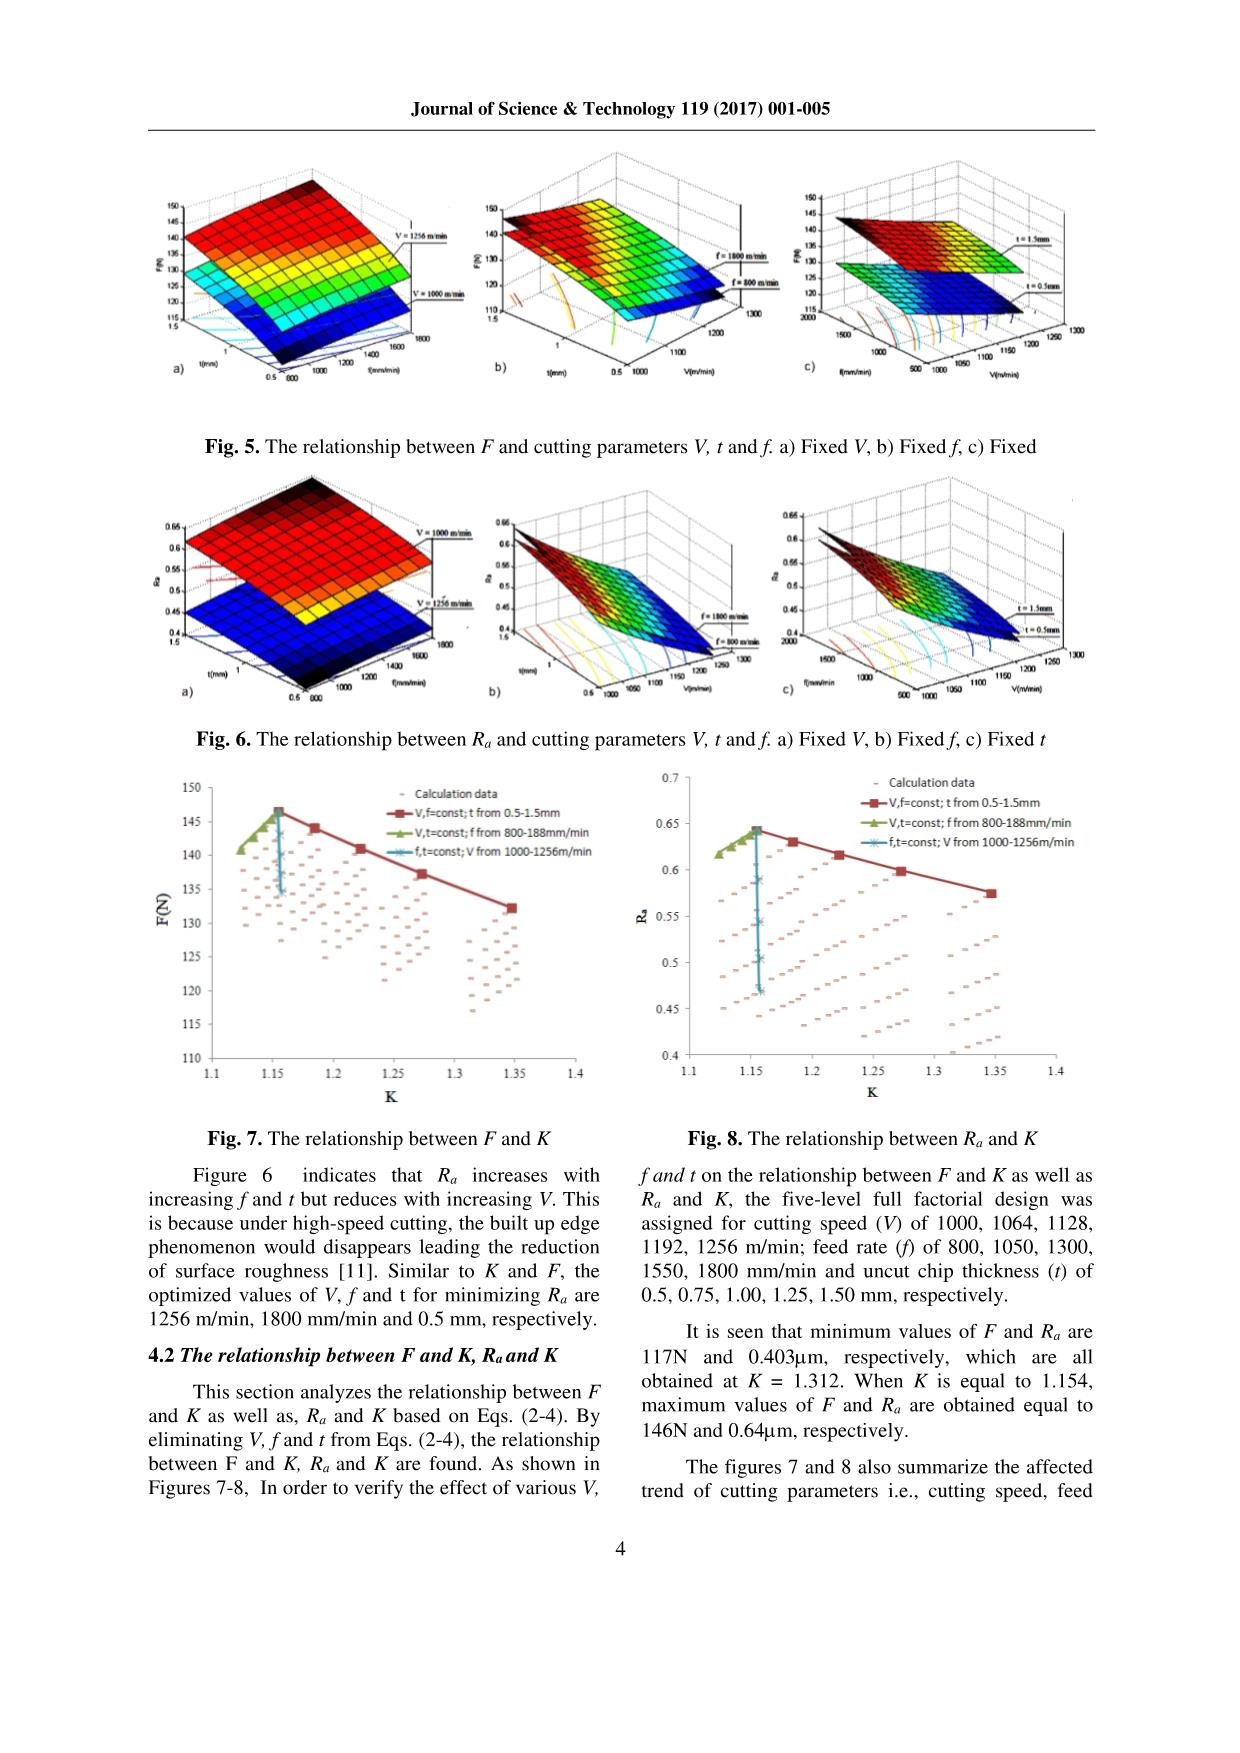
Journal of Science & Technology 119 (2017) 001-005 1 Experimental Studies to Verify the Effect of Chip Shrinkage Coefficient on Cutting Forces and Surface Roughness in High Speed Milling of A6061 Aluminum Alloy Pham Thi Hoa1,2, Mac Thi Bich1,2, Banh Tien Long1, Nguyen Duc Toan1* 1 Hanoi University of Science and Technology, No. 1, Dai Co Viet, Hai Ba Trung, Hanoi, Viet Nam 2 Department of Mechanical Engineering, Hungyen University of Technology and Education, Hungyen, Vietnam Received: June 14, 2016; accepted: June 9, 2017 Abstract This paper studied the relationship between the cutting force, surface roughness and chip shrinkage coefficient through the affect of cutting parameters, i.e., cutting speed, feed rate and uncut chip thickness. Experimental results of the chip shrinkage coefficient, cutting force and surface roughness at various cutting parameter values for high-speed milling of A6061 aluminum alloy were presented in this study. The results show that the cutting force and surface roughness can be derived based on the relationships with chip shrinkage coefficient. Keywords: High-speed milling, A6061 aluminum alloy, Chip shrinkage coefficient, Surface roughness, Cutting force. 1. Introduction1 High-speed milling (HSM) has become an innovative technique, which keeps improving progressively. It is particular important to model of the HSM process in order to aid for prediction of the cutting process variables. Consequently, modeling of HSM process is essential for the design and optimization of the cutting conditions. Cutting force in a milling process is one of the most important issues for the selection of machining parameters, such as feed rate and spindle speed [1]. Many researchers using both experiment and simulation approaches for prediction of cutting forces of HSM processes [2-4]. Compare to experiment approach, simulation of a milling process using Finite Element Method (FEM) show a beneficial of providing more detail information of cutting process variables, such as cutting forces, tool stresses and temperatures [5]. Nowadays, development of cutting force model for HSM is increasing interests toward higher precise cutting force estimation and applicable for different cutting conditions. One of the major challenges of milling at high speeds is that high-speed milling leads to the high temperature and stress growing at the interfaces of chip-tool or workpiece-tool resulting in unexpected roughness of workpiece surface finish [6]. In order to * Corresponding author: Tel: (+84) 988 693 047 Email: toan.nguyenduc@hust.edu.vn ensure workpiece surface roughness at a desired quality, properly cutting parameters should be established. Several researchers studied the relationships of surface roughness and cutting parameters such as nose radius, clearance angle, cutting speed, feed rate, depth of cut, rake angle [7]. Nowadays, research on surface roughness influenced by cutting parameters is continuing for enhancing product quality at low cost. Another concern in modeling the HSM process is estimation of chip geometric parameters, such as chip thickness, chip length, etc. Since accuracy of the model for chip parameter estimation directly affects the accuracy of the cutting force predictions, accurate chip modeling is always desired in the estimation of cutting forces, especially in micro milling [8]. Chip shrinkage coefficient defined as the ratio of the uncut chip length by the actual chip length, can be a prominent parameter for modeling of a cutting process. However, studies on the chip shrinkage coefficient have been limited in literature. This study investigate the effect of cutting parameters, i.e., cutting speed, feed rate and uncut chip thickness on the chip shrinkage coefficient, cutting force, surface roughness. The relationship between this factor are found the chip shrinkage coefficient and cutting force, surface roughness and cutting parameters are found through experimental measurement for high-speed milling of A6061 aluminum alloy. Journal of Science & Technology 119 (2017) 001-005 2 2. Experimental setup 2.1 Workpiece material The workpiece used in this study is aluminum alloy A6061, which has the hardness of 97HB. The chemical composition of workpiece material is represented in Table 1. Several workpieces used for experiment are shown Figure 1. The workpiece dimensions are 70x30x70 (mm). Table 1. Chemical composition of the workpiece material (%). Si Fe Cu Mn Mg 0,4-0,8 0,3 0,05-0,3 0,10 0,8-1,2 Cr Zn Ti Al 0,05-0,30 0,25 0,15 remaining Fig .1. The workpieces used in experiments 2.2 Milling experiment All the experiments are performed on a HS Super MC500 high-speed milling machine maximum feed rate of 30 m/min, maximum spindle speed of 30.000 rpm, travel distances of the operating platform in the X, Y and Z directions of 500 mm, 400 mm and 300 mm, respectively. Dry milling condition with carbide insert cutting tool (APMTT1604PDTR TC300) and diameter of 40 mm is used for milling. 2.3 Measurement equipment The cutting forces are measured by force measurement device Kisler, which is equipped with a force sensor (Kisler 9257B). The maximum load capacities of the device in X, Y and Z directions are 1500N, 1500N and 5000N, respectively. The sensitivity of sensor in X, Y and Z directions are 7.39 pC/N 7.39 pC/N and 3.72 pC/N, respectively. The measured data is collected by an acquisition system using DASYlab 10.0 software. The surface roughness of the machined workpiece is measured by a surface roughness tester (Mitutoyo SJ–400). The roughness values are in µm. Figure 2 shows the surface roughness measuring device. Fig. 2. Surface roughness tester The Sartorius Volume Comparator (S224-1S) scale is used to determine the weigh of the chip after cutting. The scale parameters are as follows: capactiy of 220 gr, readability of 0.1 mg. The chip shrinkage coefficient (K) can be calculated by following formula [11]: 1000. . . . QK L S t (1) where Q is weight of the chip (gr), is material density (g/cm3), l is chip length (mm), S and t are feed rate (mm/rev) and uncut chip thickness (mm), respectively. 3. Design of experiment The effects of cutting speed, feed rate, uncut chip thickness, on chip shrinkage coefficient, force cutting, surface roughness are examined using a three-factor/three-level full factorial design [10]. The range of each factor is set at three different levels as shown in Table 2. Figure 3 shows the experimental set-up of the milling process. Fig. 3. Experimental set-up Journal of Science & Technology 119 (2017) 001-005 3 Table 2. Cutting parameters for the experiment No. Parameter Unit Level 1 Level 2 Level3 1 V (cutting speed) m/min 1000 1130 1256 2 f(feed rate) mm/min 800 1350 1800 3 t (uncut chip thickness) mm 0,5 1,0 1,5 Table 3. Experimental results No V(m/ min) f (m/min) t (mm) K F (N) Ra (m) 1 1000 800 0,5 1,294 135,71 0,64 2 1256 800 0,5 1,304 126,98 0,39 3 1000 1800 0,5 1,322 120,88 0,60 4 1256 1800 0,5 1,370 111,73 0,31 5 1000 800 1,5 1,144 146,36 0,53 6 1256 800 1,5 1,102 128,42 0,48 7 1000 1800 1,5 1,137 139,71 0,55 8 1256 1800 1,5 1,133 117,38 0,35 9 1130 1350 1 1,236 125,46 0,44 10 1130 1350 1 1,236 124,82 0,44 11 1130 1350 1 1,236 126,72 0,44 4. Results and discussions 4.1 Influences of V, f and t on the K, F and Ra Table 3 shows the experiment results of K, F, Ra as a function of V, f and t. Using curve-fitting tool, the relationship between K, F, Ra dependence on V, f and t is established. That relationship is described by the following equation (2), (3),(4). 32 4 1 aa aK a V f t (2) 32 4 1 bb bF bV f t (3) 32 4 1 cc c aR c V f t (4) where ai, bi, ci (i = 1...4) are the constants to be determined. Using curve fitting tool in Minitab17, those constants can be determined as shown in Table 4. Table 4. Fitted constants obtained by surface fitting method i 1 2 3 4 a 0,889866 0,0090714 0,0339467 -0,1402635 b 1264,012 -0,36893 0,047466 0,092838 c 5820,781 -1,378843 0,04978739 0,10138765 Figures 4-6 show K, F, and Ra as a function of the cutting parameters, i.e., V, f and t, respectively, obtained using equations (2), (3) and (4) with the constants in Table 4. Figure 4 shows that increasing cutting speed leads to the increase of K. On the other hand, K is decreased with increasing depth of cut. This figure also shows that t has a great influence on K, while the effect of f on K is minor. Besides, cutting speed increases leading to the decrease in contact area between the chip and the front of the tool. Consequently, chip shrinkage coefficient is increased [11]. In order to obtain the optimal cutting parameter values for minimizing K, MAPLE software is utilized based on NLPSolve command. Optimal values for V, f and t are 1000 m/min, 800 mm/min, and 1.5 mm, respectively. From Figure 5, increasing V, f or t all reduces F. This is because at high-speed cutting, the generated heat can soften the materials thus decreasing cutting forces [11]. Using NLPSolve command, the optimal parameters of V, f and t for the objective function of minimizing F are also found equal to 1256 m/min, 1800 mm/min, and 0.5 mm, respectively. Fig. 4. The relationship between K and cutting parameters V, t and f. a) Fixed V, b) Fixed f, c) Fixed t Journal of Science & Technology 119 (2017) 001-005 4 Fig. 5. The relationship between F and cutting parameters V, t and f. a) Fixed V, b) Fixed f, c) Fixed Fig. 6. The relationship between Ra and cutting parameters V, t and f. a) Fixed V, b) Fixed f, c) Fixed t Fig. 7. The relationship between F and K Fig. 8. The relationship between Ra and K Figure 6 indicates that Ra increases with increasing f and t but reduces with increasing V. This is because under high-speed cutting, the built up edge phenomenon would disappears leading the reduction of surface roughness [11]. Similar to K and F, the optimized values of V, f and t for minimizing Ra are 1256 m/min, 1800 mm/min and 0.5 mm, respectively. 4.2 The relationship between F and K, Ra and K This section analyzes the relationship between F and K as well as, Ra and K based on Eqs. (2-4). By eliminating V, f and t from Eqs. (2-4), the relationship between F and K, Ra and K are found. As shown in Figures 7-8, In order to verify the effect of various V, f and t on the relationship between F and K as well as Ra and K, the five-level full factorial design was assigned for cutting speed (V) of 1000, 1064, 1128, 1192, 1256 m/min; feed rate (f) of 800, 1050, 1300, 1550, 1800 mm/min and uncut chip thickness (t) of 0.5, 0.75, 1.00, 1.25, 1.50 mm, respectively. It is seen that minimum values of F and Ra are 117N and 0.403m, respectively, which are all obtained at K = 1.312. When K is equal to 1.154, maximum values of F and Ra are obtained equal to 146N and 0.64m, respectively. The figures 7 and 8 also summarize the affected trend of cutting parameters i.e., cutting speed, feed Journal of Science & Technology 119 (2017) 001-005 5 rate and uncut chip thickness on the cutting force (F) and surface roughness (Ra) related with chip shrinkage coefficient (K) as discussing in detail on section 4.1. From those figures, the optimal cutting parameters can be obtained by minimizing cutting force (F), surface roughness (Ra) and chip shrinkage coefficient (K). In order to minimize the F and Ra, the maximum of cutting speed (V) and minimum of feed rate (f) also uncut chip thickness (t) should be set. However, the decreasing of uncut chip thickness (t) will increase the chip shrinkage coefficient (K) therefore (t) will be chosen based on the productivity of manufacturing process. 5. Conclusions This paper presents an experimental study on relationship between cutting force, surface roughness and chip shrinkage coefficient when high speed milling of A6061 aluminum alloy. Some conclusions are given as follows: 1. The relationship between the cutting force, surface roughness and chip shrinkage coefficient through cutting parameters e.g., cutting speed, feed rate, uncut chip thickness are explicitly described by mathematical functions. 2. The optimal cutting parameters for chip shrinkage coefficient, cutting force and surface roughness can be found by maximizing the cutting speed (V) and minimizing the feed rate (f), which are useful for practical milling of A6061 aluminum alloy. Acknowledgements: This research is funded by Vietnam National Foundation for Science and Technology Development (NAFOSTED) under grant number “107.02-2016.01”. References [1] Wu Baohai, Yan Xue, Luo Ming, Gao Ge, Cutting force prediction for circular end milling process, Chinese Journal of Aeronautics, 26 (4) (2013) 1057– 1063. [2] W.A. Kline, R.E. DeVor, J.R. Lindberg, The prediction of cutting forces in end milling with application to cor-nering cuts, International Journal of Machine Tool Design and Research 22 (1982) 7–22. [3] H.J. Fu, R.E. DeVor, S.G. Kapoor, A mechanistic model for prediction of the force system in face milling oper-ation, ASME Journal of Engineering for Industry 106 (1984) 81–88. [4] W.P. Wang, Solid modelling for optimizing metal removal of three-dimensional end milling, Journal of Manufac-turing Systems 7 (1984) 57–66. [5] T. O. Zel, T. Altan, Modeling of high speed machining processes for predicted tool forces stresses and temperatures using FEM simulations, in: Proceedings of the CIRP International Workshop on Modeling of Machining Oper-ations, Atlanta, GA, (1998) 225–234. [6] Tugrul Ozel, Taylan Altan, Process simulation using finite element method - prediction of cutting forces, tool stresses and temperatures in high-speed flat end milling, International Journal of Machine Tools & Manufacture 40 (2000) 713–738. [7] Mehmet Alper, İlhan ASİLTÜRK, Effects of Cutting Tool Parameters on Surface Roughness, International Refereed Journal of Engineering and Science, 4(8) (2015) 15-22. [8] Ali Mamedo, Ismail Lazoglu, An evaluation of micro milling chip thickness models for the process mechanics, the International Journal of Advanced Manufacturing Technology, (2015) 1-7 [9] Swan MS. Incorporation of a general strain-to-failure fracture criterion into a stress-based elasticity model through a time-to-failure softening mechanism. M.Sc. Thesis in Mechanical Engineering University of Utah, USA.(2012) [10] K. Venkata, M. Krishnam, G. R. Janardhana, Optimization of Cutting Conditions for Surface Roughness in CNC End Milling, 12( 3) (2011) 383– 391. [11] Banh Tien Long, Tran The Luc and Tran Sy Tuy. Metal Cutting Principles, 2nd Ed, Science and Technics Publishing House, (2013) (In Vietnamese)
File đính kèm:
 experimental_studies_to_verify_the_effect_of_chip_shrinkage.pdf

